内容提要:关于PS如何快速抠白底图,本文用操作案例来详细讲解ps如何快速抠白底图步骤.
今天为大家分享ps快速抠白底图的方法和相关操作案例。
文中案例主要使用PS图层混合模式和历史记录画笔工具来抠选图像。
下面是抠图前后效果对比:

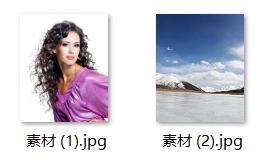
所需要的素材有两张,分别是素材1和素材2。
ps如何快速抠白底图步骤如下:
第一,将素材2复制到图层1上面,对应的图层显示为:
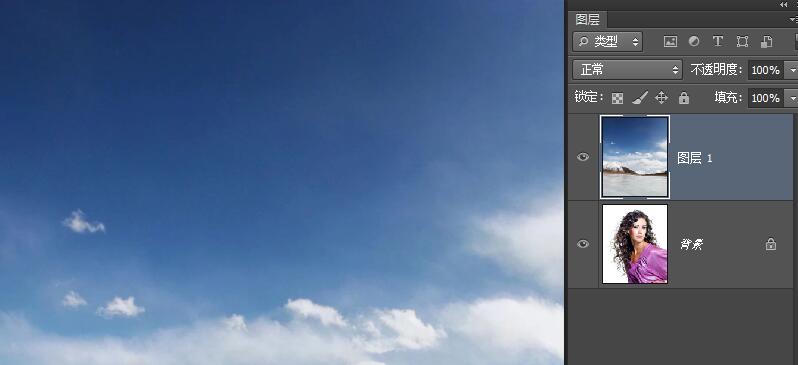
第二,将“背景”图层双击解锁,然后移动到图层1上面。此时,图层面板如下显示:
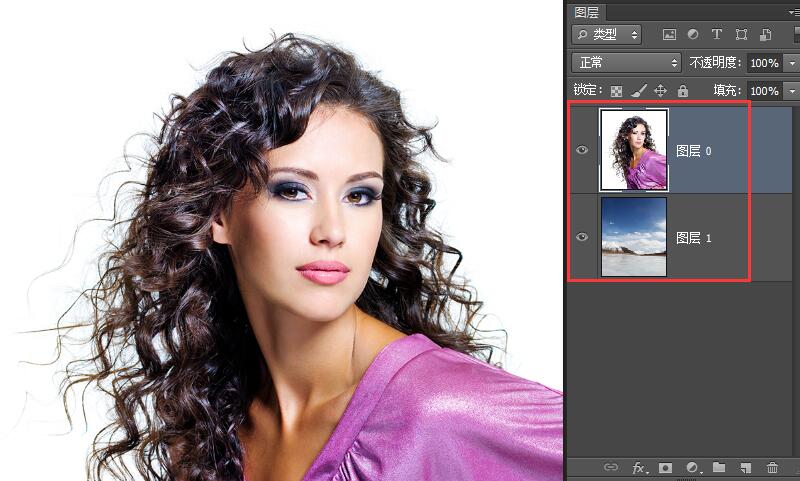
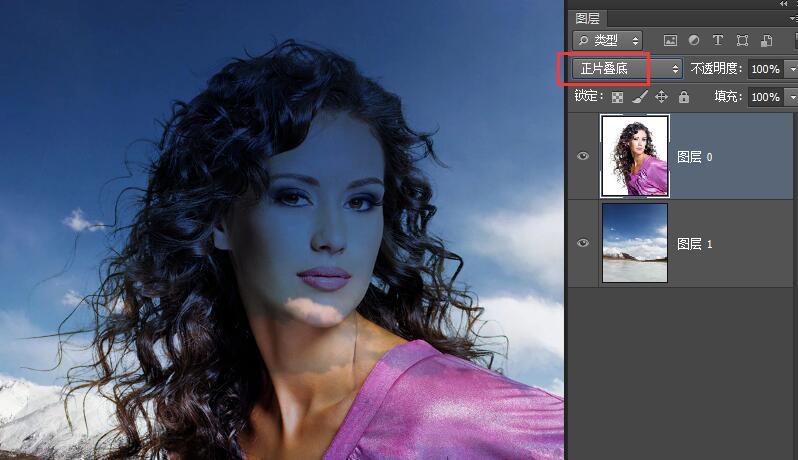
第三,将图层0的图层混合模式设置为:正片叠底。此时,效果如下:
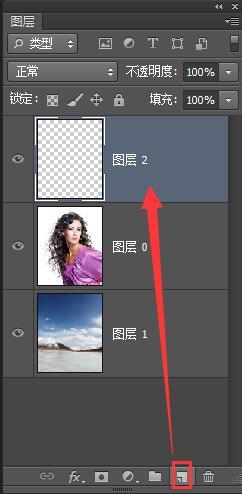
第四,创建一个新的空白图层,如下:
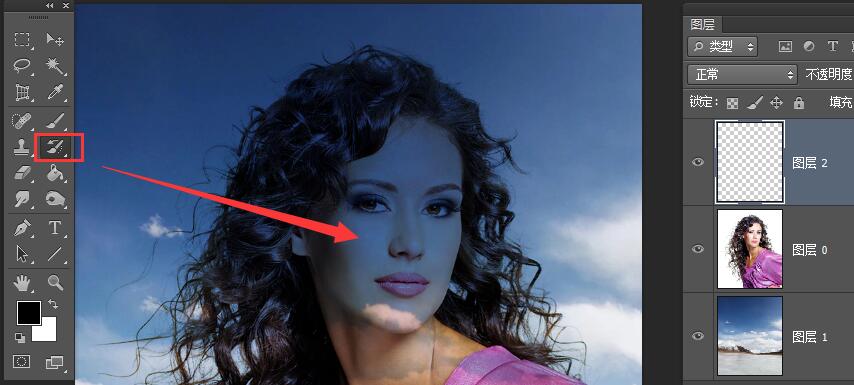
第五,选择历史记录画笔,在需要出现人的皮肤衣服的范围,进行涂抹。要做到精细抠图,需要反复坚持操作,直到图像抠选完毕。
OK,关于ps快速抠白底图就分享到此。PS交流QQ群:553281253,下载教程所需要的素材操作练习。
更多的PS教程,请加入学习QQ群:553281253或者关注PS教程微信公众号,每日更新。