内容提要:本文的Photoshop漫画头像制作教程讲解,由赵老师带给大家,在此表示感谢!
我们使用Photoshop来制作漫画头像,教程基于多个滤镜的综合运用。
本文的ps漫画头像制作教程来源如下:
原文:用PS液化滤镜制作真人漫画头像图片 站酷 赵老师
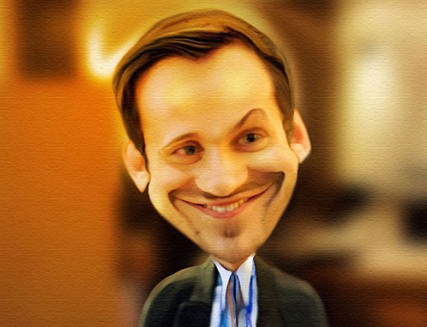
效果:
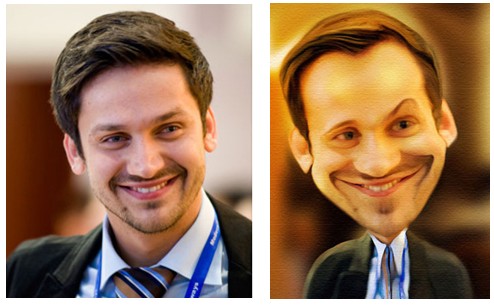
ps漫画头像制作步骤:
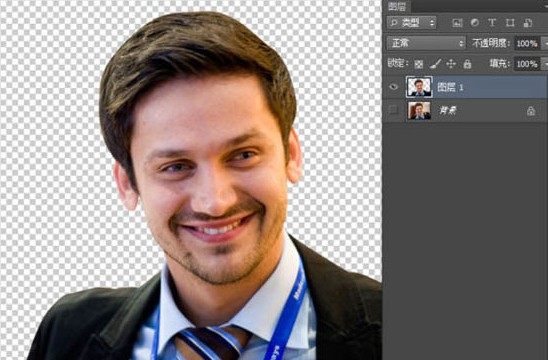
第一步,打开需要做效果的人物肖像图,Ctrl + J 从新复制一层并将人物抠出,如图11所示:
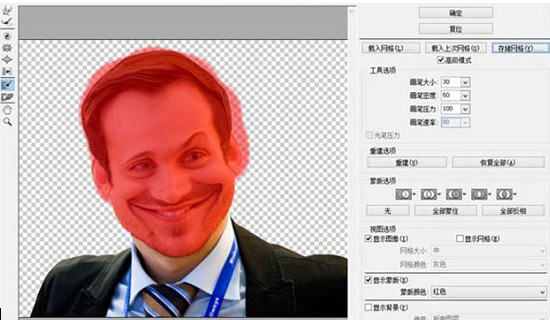
第二步,点击菜单:滤镜 > 液化,打开液化面板。如图12所示:
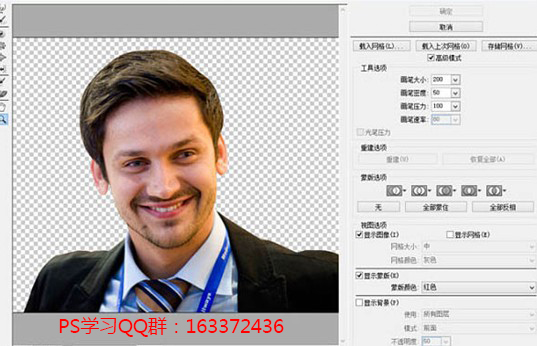
第三步,通过液化工具,开始调整头部,将人物的特点尽可能的夸张。(编者注,人物特点可以是你想做出的效果,或者头像本身的特点;如本例中的特点就是笑)工具的选择就不固定了,可以根据自己的需求来选择工具。如图12-13所示:
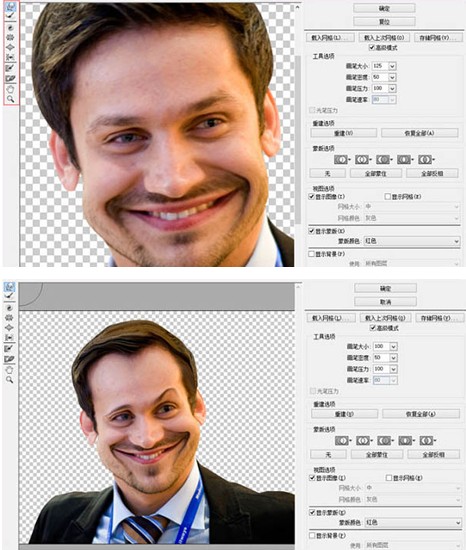
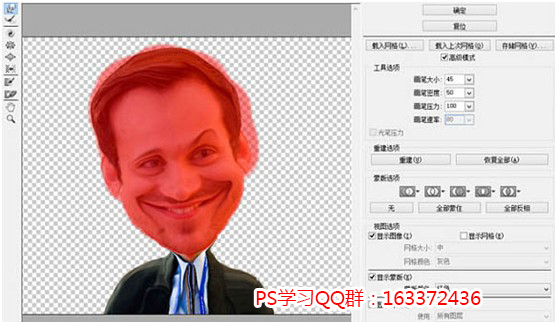
第四步,头部液化完成之后,要通过冻结蒙版工具,将头部全部涂抹上,这样在调整身体的时候,头部就不会受到影响了。如图14所示:
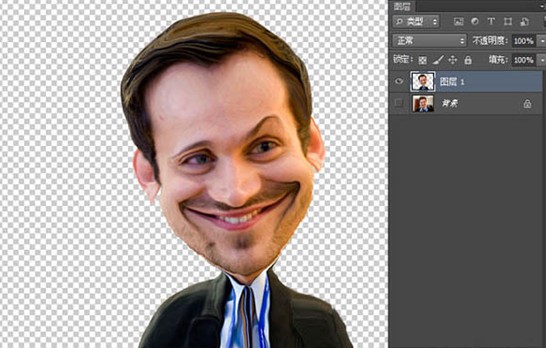
第五步,开始调整身体,让身体小些(如图15所示)。调整的时候注意细节,需要耐心。完成之后,点击确定回到图层(如图16所示)。
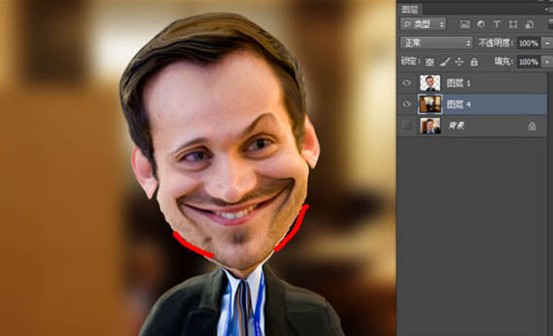
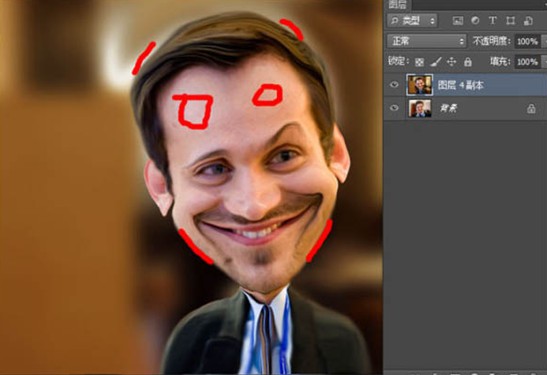
第六步,找个背景放入内部,调整一下人物的边缘(如图17红线所示)。修整完成后和背景层合并(如图18)。

第七步,通过涂抹工具调整细节,涂抹皮肤及明暗部分,让整体效果更像绘制出来的。如图19所示:
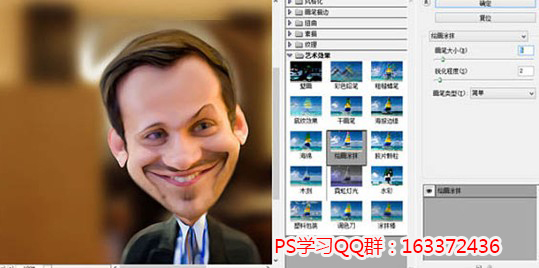
第八步,Ctrl + J 重新复制一层,点击菜单:滤镜—滤镜库—艺术效果—绘画涂抹,数值根据不同的人物及颜色自行调整。如图20所示:
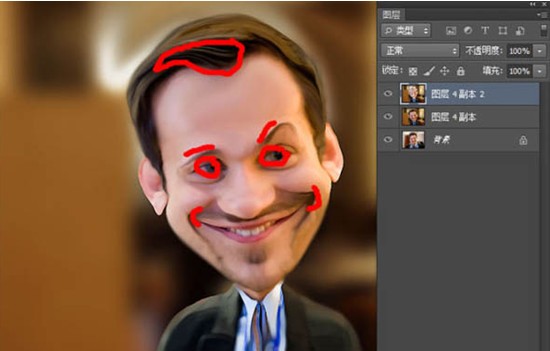
第九步,通过橡皮擦工具,将眼睛等需要增加质感的重新擦出,如图21所示。
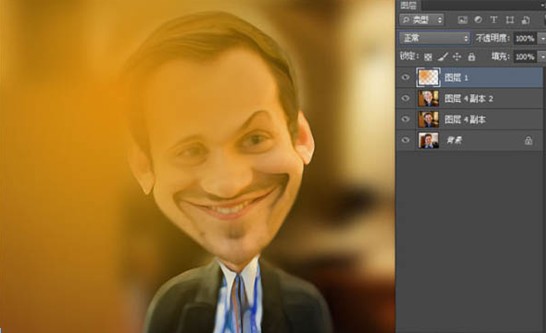
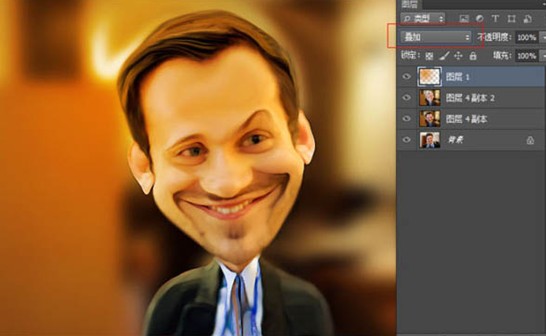
第十步,现在画面有些单调,新建图层绘制一个径向渐变,将图层模式换成叠加,让画面颜色更丰富。如图22所示:
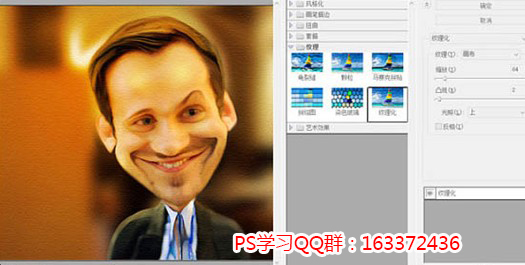
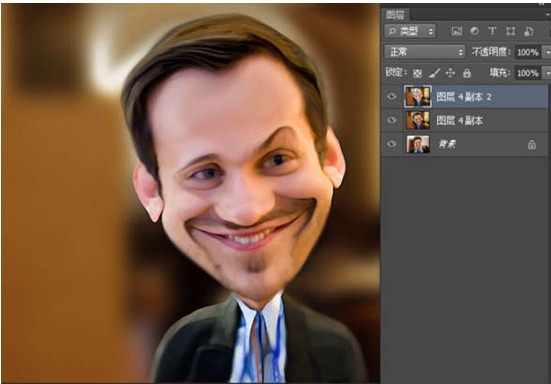
第十一步,将所有图层合并,点击菜单:滤镜—滤镜库—纹理—纹理化,参数如图23所示。完成后得到最终的PS漫画头像效果,如图24所示。